Quick Start Guide
Astroberry OS has been officially launched so it is the best time to start a series of user guides. The quick start guide should obviously open the series.
1. Download, install and boot
If you're here, you have successfully downloaded system image file and flashed a microSD card. If not, take a look at the installation instructions first. If so, the system is booting and you're thinking what's next.
A minute or two after power on, the system should be up and running. Using your computer, take a look at the list of available wireless networks. If you see astroberry hotspot on the list, the system is ready. At this point you can either connect to astroberry hotspot or connect Raspberry Pi to a wired network.
2. Login to the system
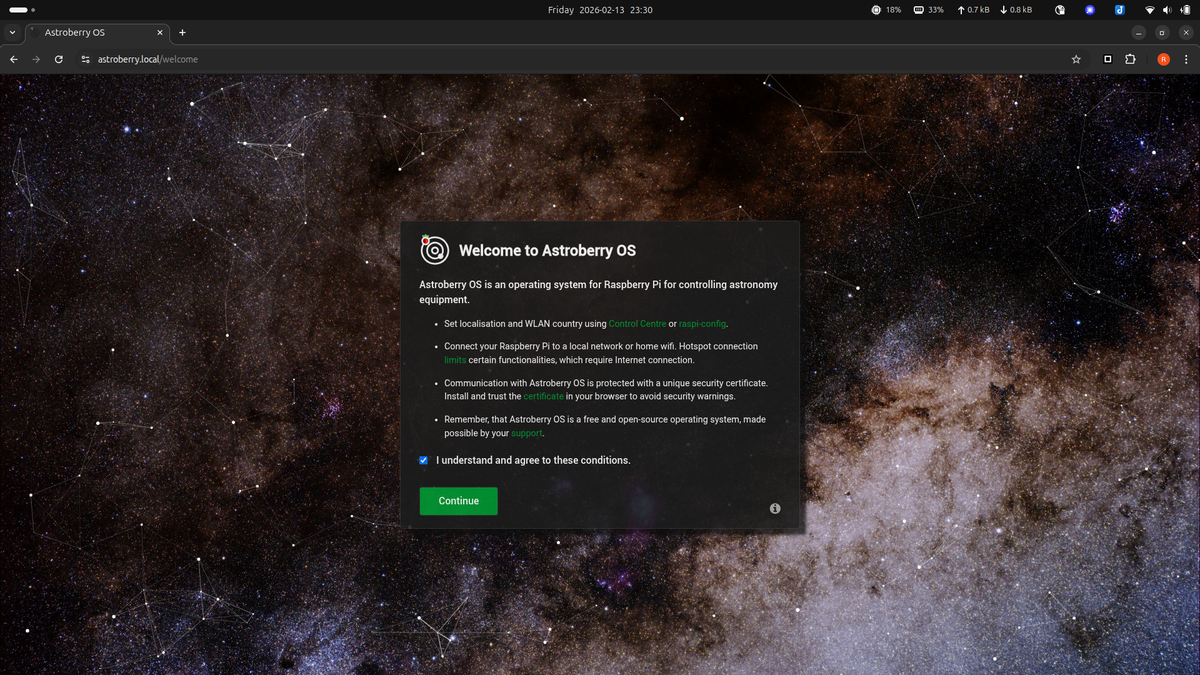
Next point your web browser to http://astroberry.local. You will see the welcome screen.
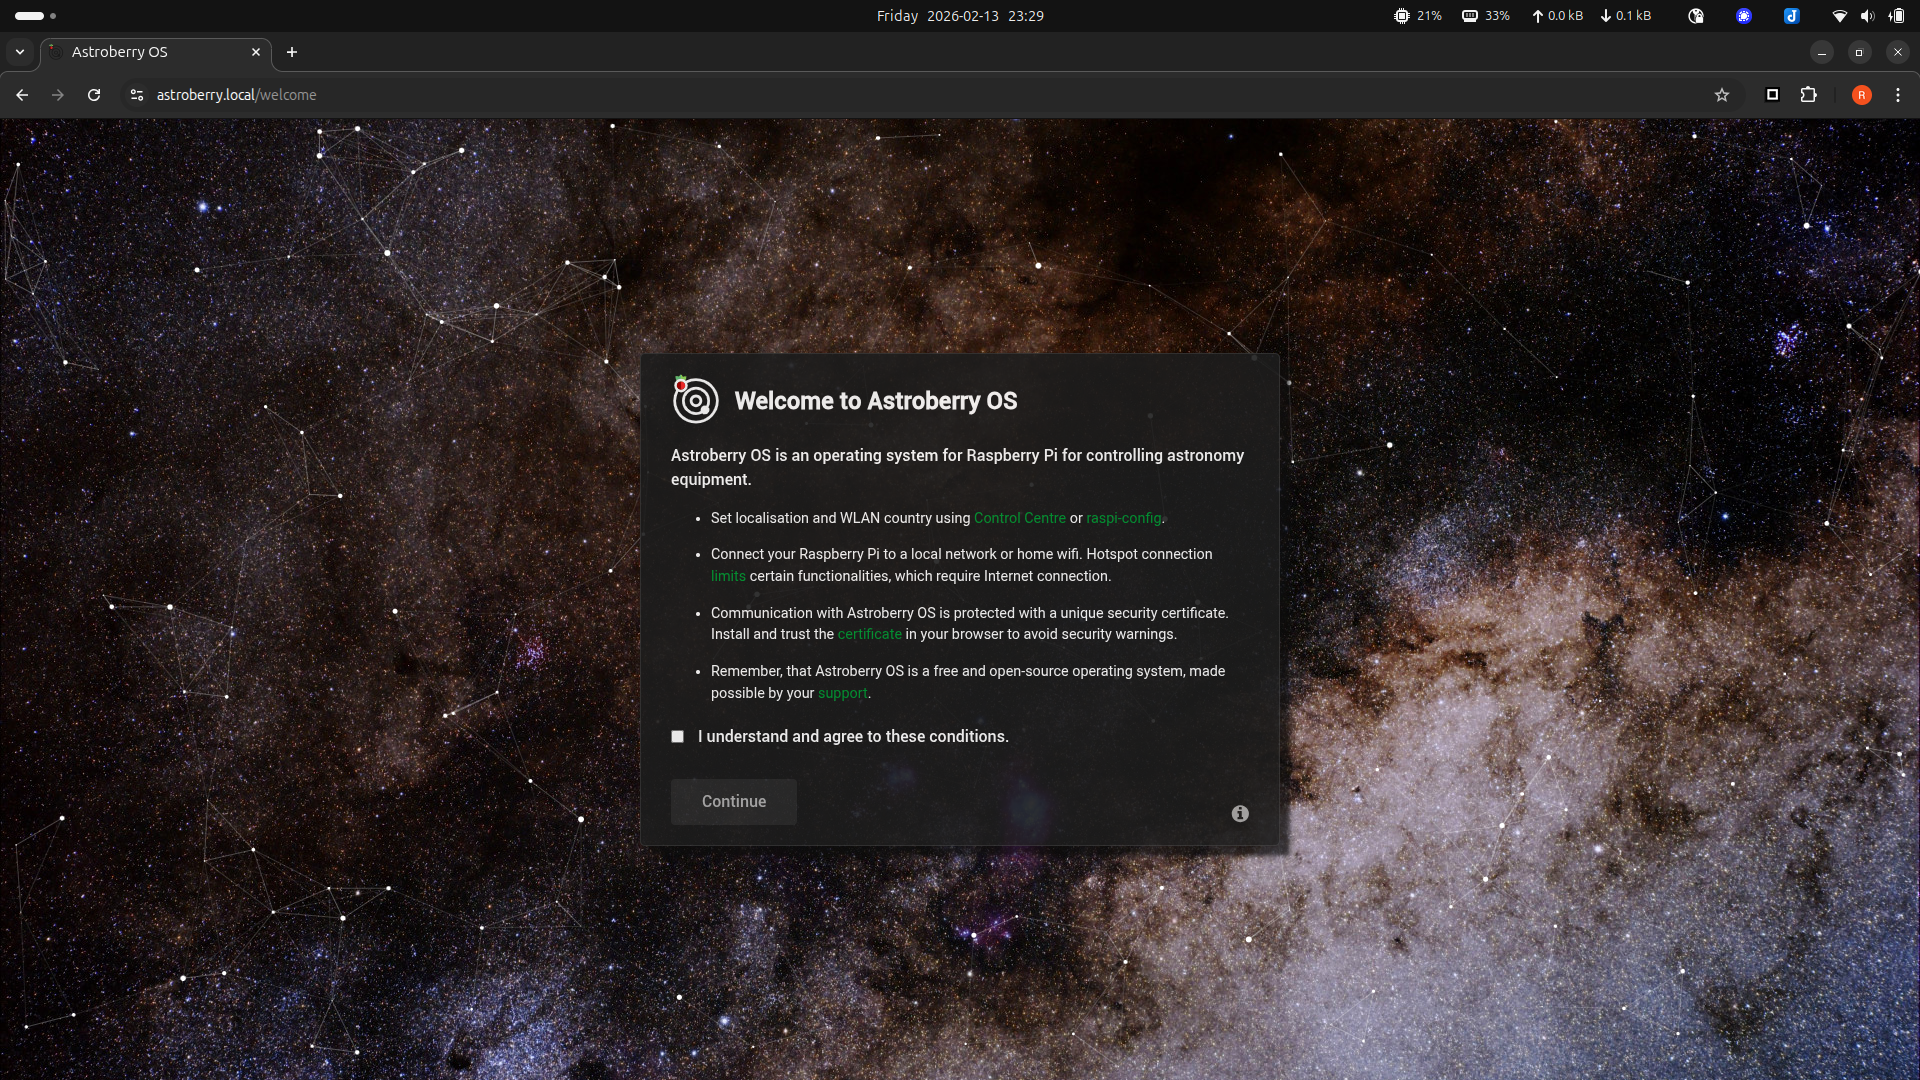
Read it carefully as it contains important information. Remember that it is your responsibility to use Raspberry Pi according to local regulations and setting up WLAN country is a must!
If you plan to use secure connection, protected with a certificate (https vs http), make sure to click certificate link and download CA certificate to be installed in your browser as a trusted certificate. Web browser restart might be required to conclude installation of the certificate.
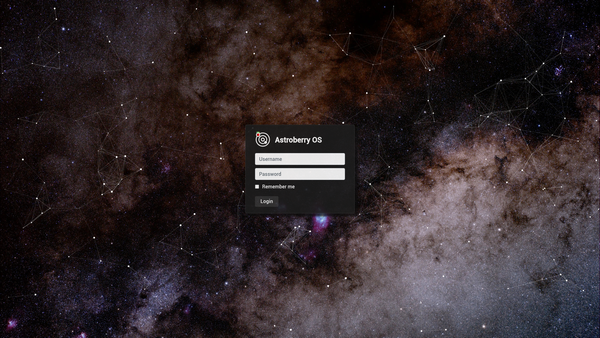
Confirm that you understand basic usage rules and continue to the login screen.
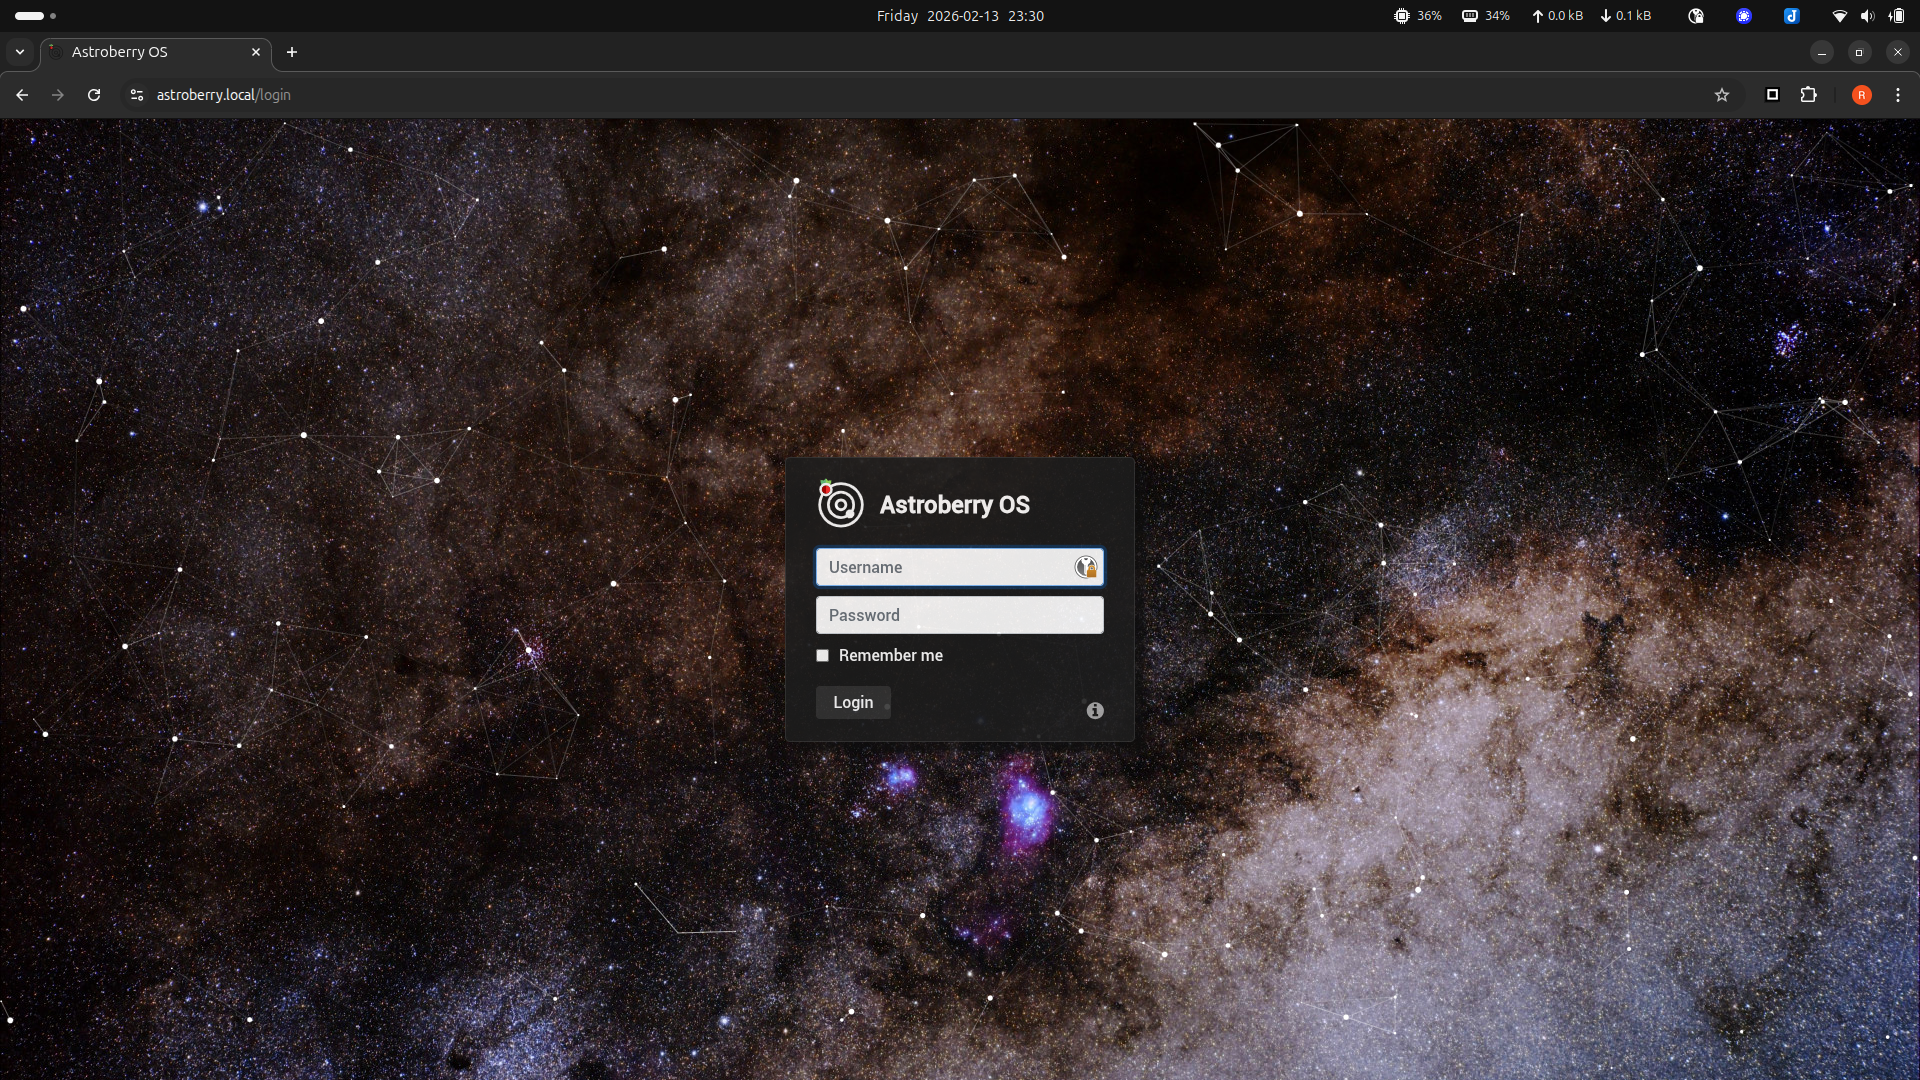
Default username and password is astroberry/astroberry. Please remember to change the password after the first login. The most reliable way to do this is to run passwd on your terminal.
3. Apply basic configuration
After successful login you will see the main application screen.
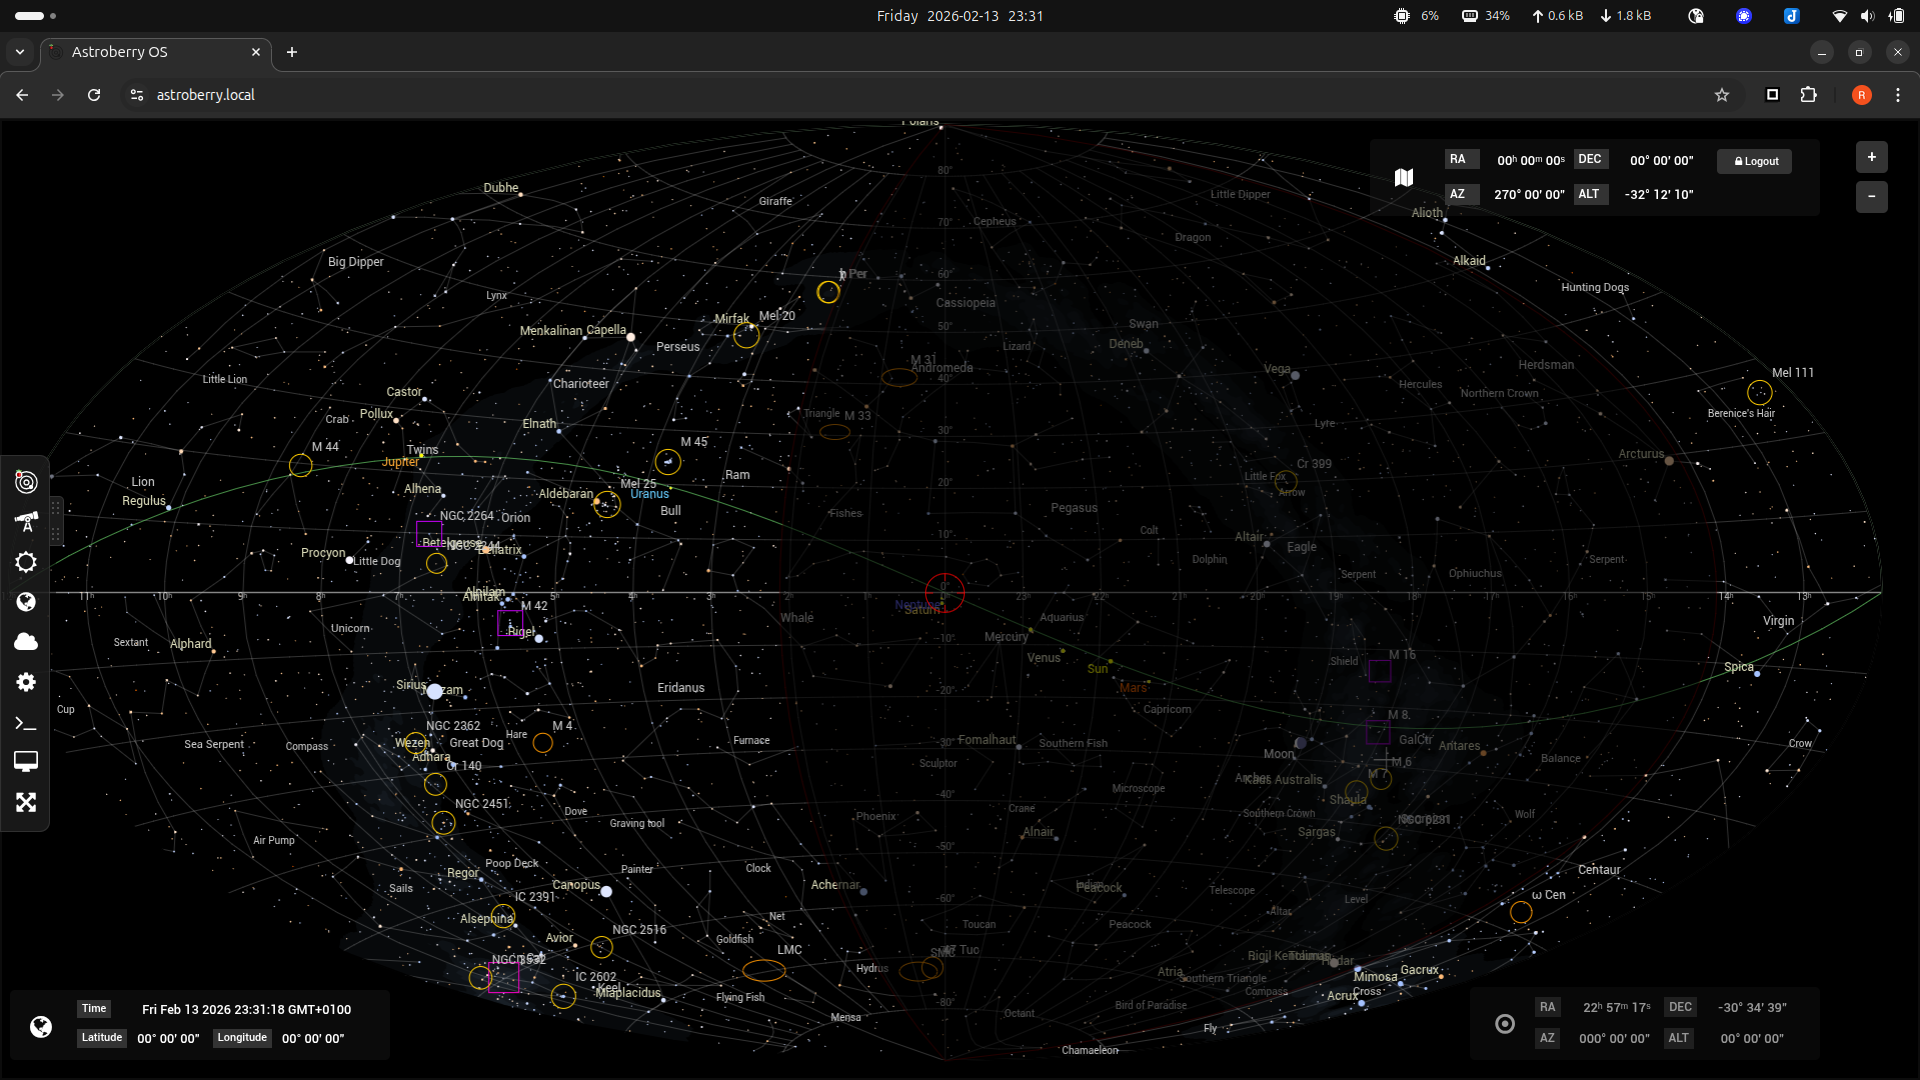
At the left screen edge you can see a sliding menu, which is Astroberry's central point of control. We'll post a walk-through guide soon, so stay tuned.
Location
Let's start with setting up your location. This step is required for accurate display of the star chart and is crucial for setting up your telescope.
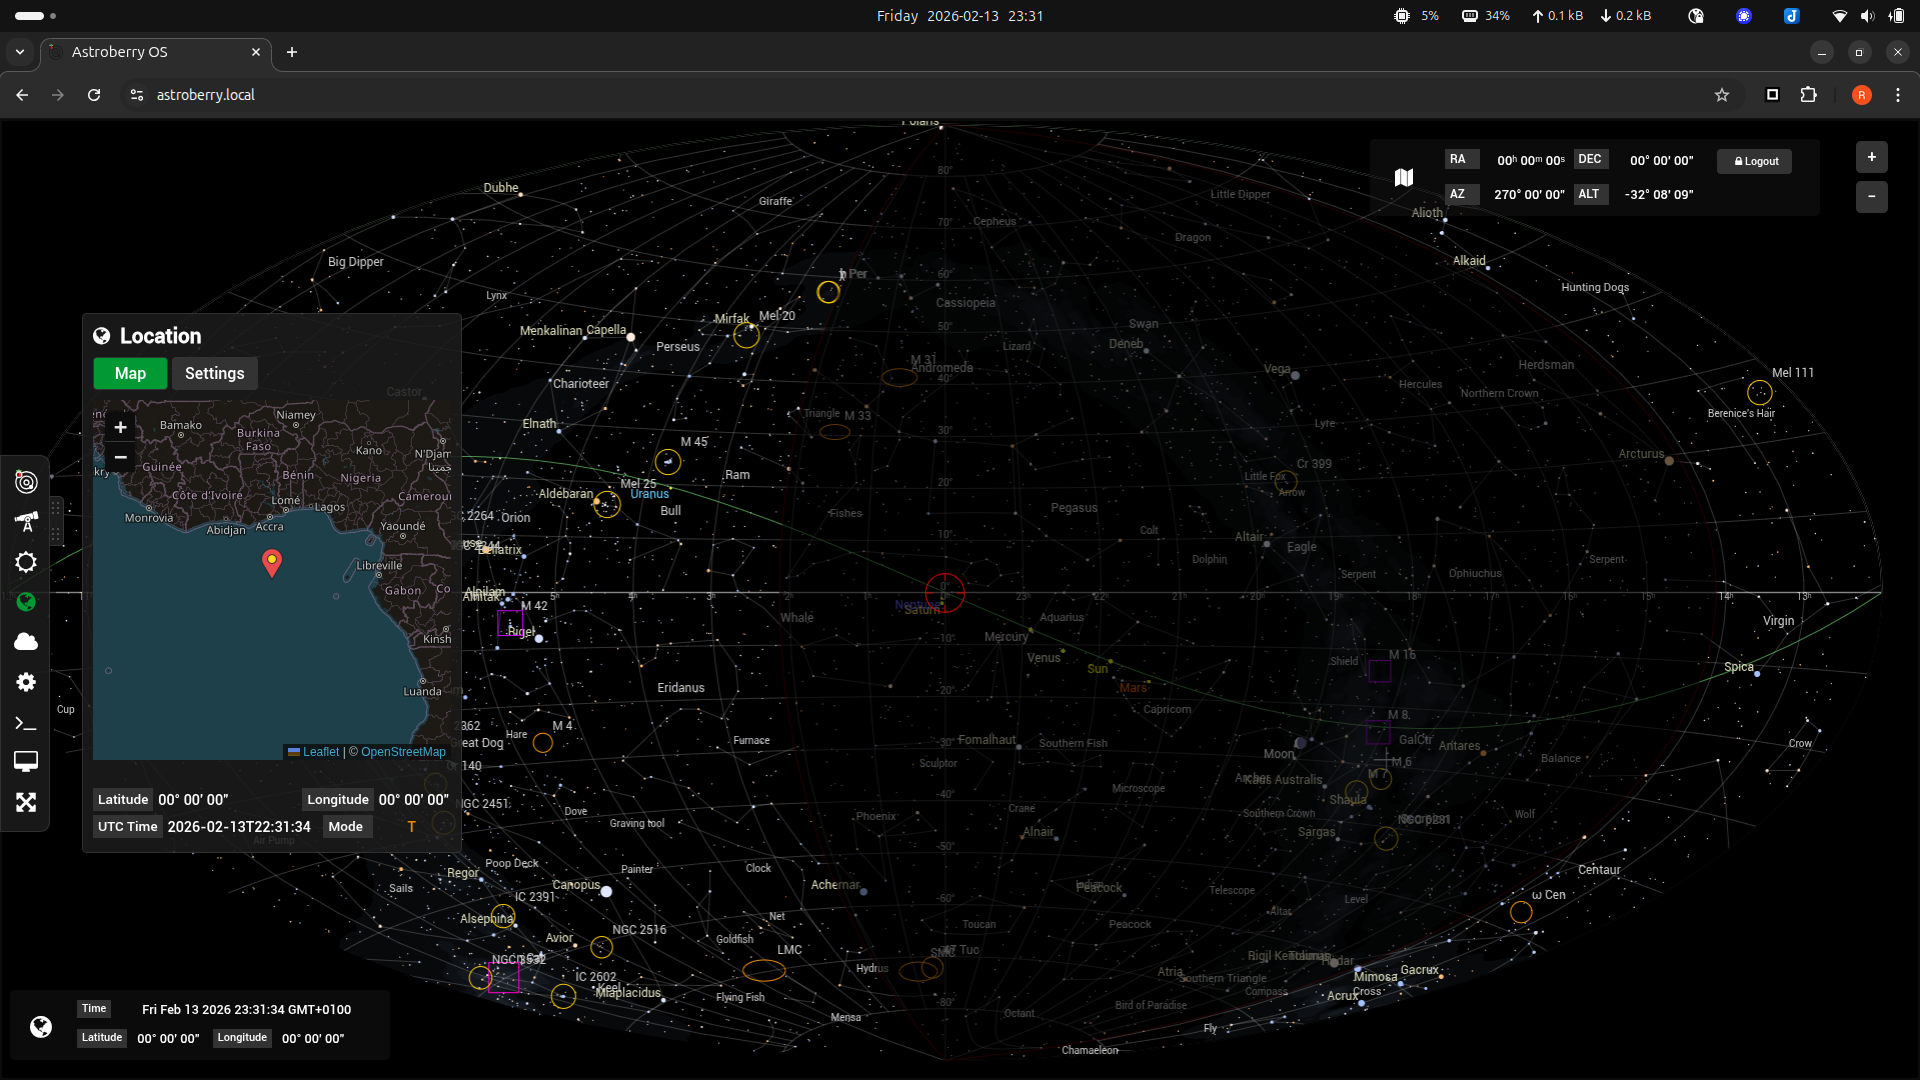
The easiest way is to read location from the telescope (default).
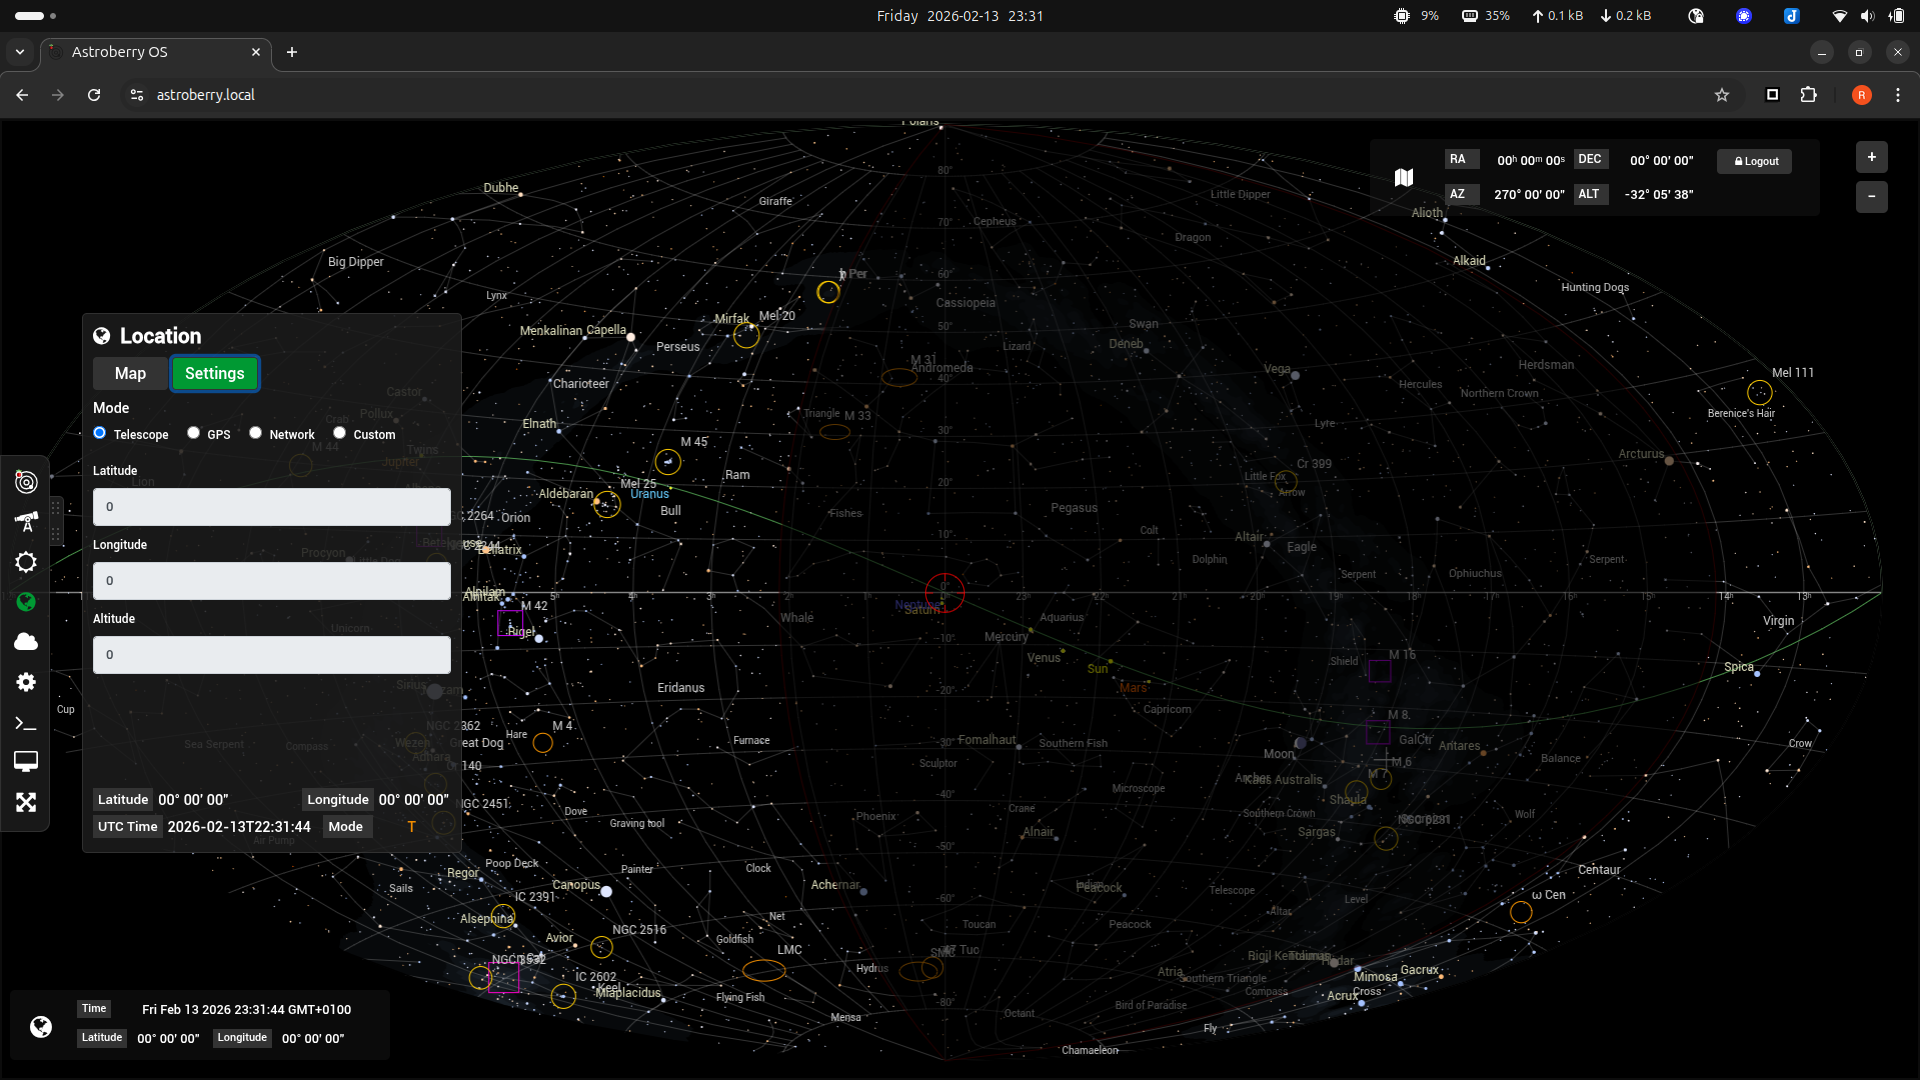
You can also use GPS receiver connected to the system, get location from network (requires the Internet) or set custom location manually. In these cases you can send your location to the telescope.
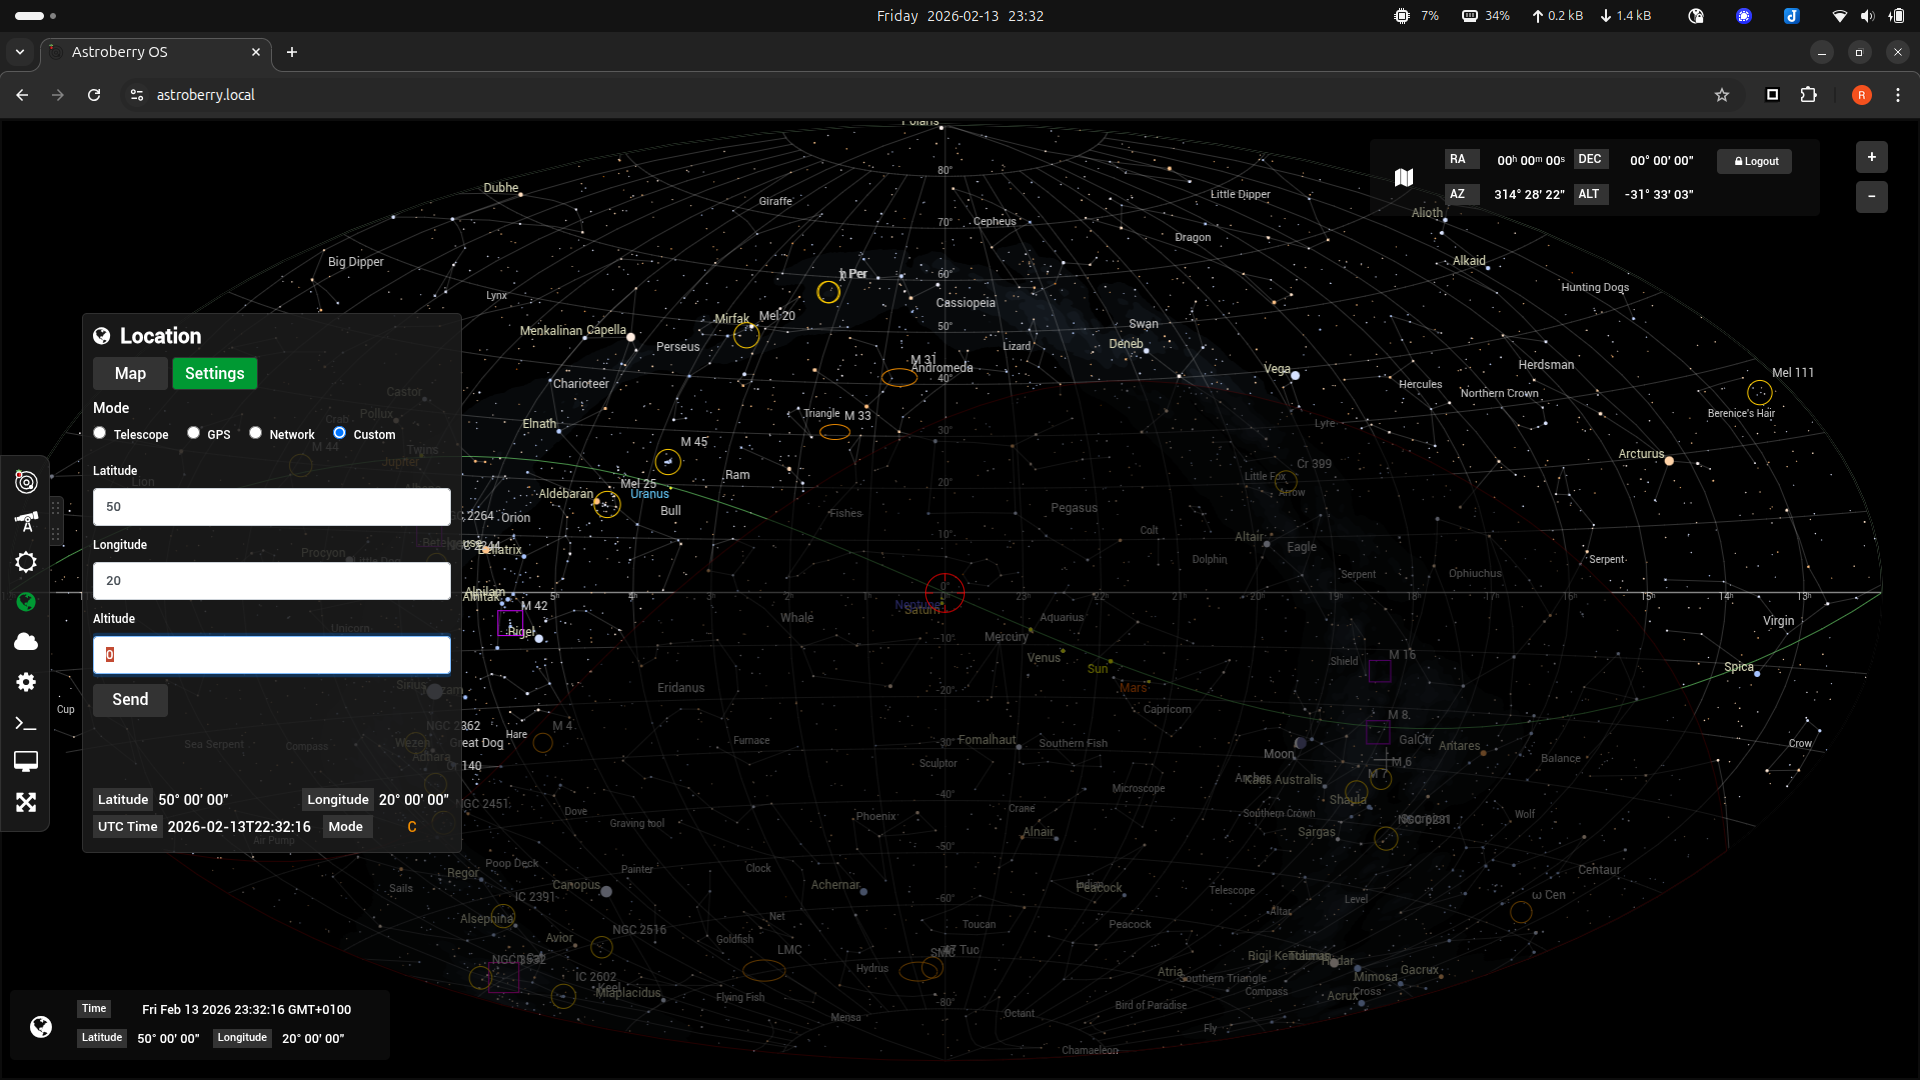
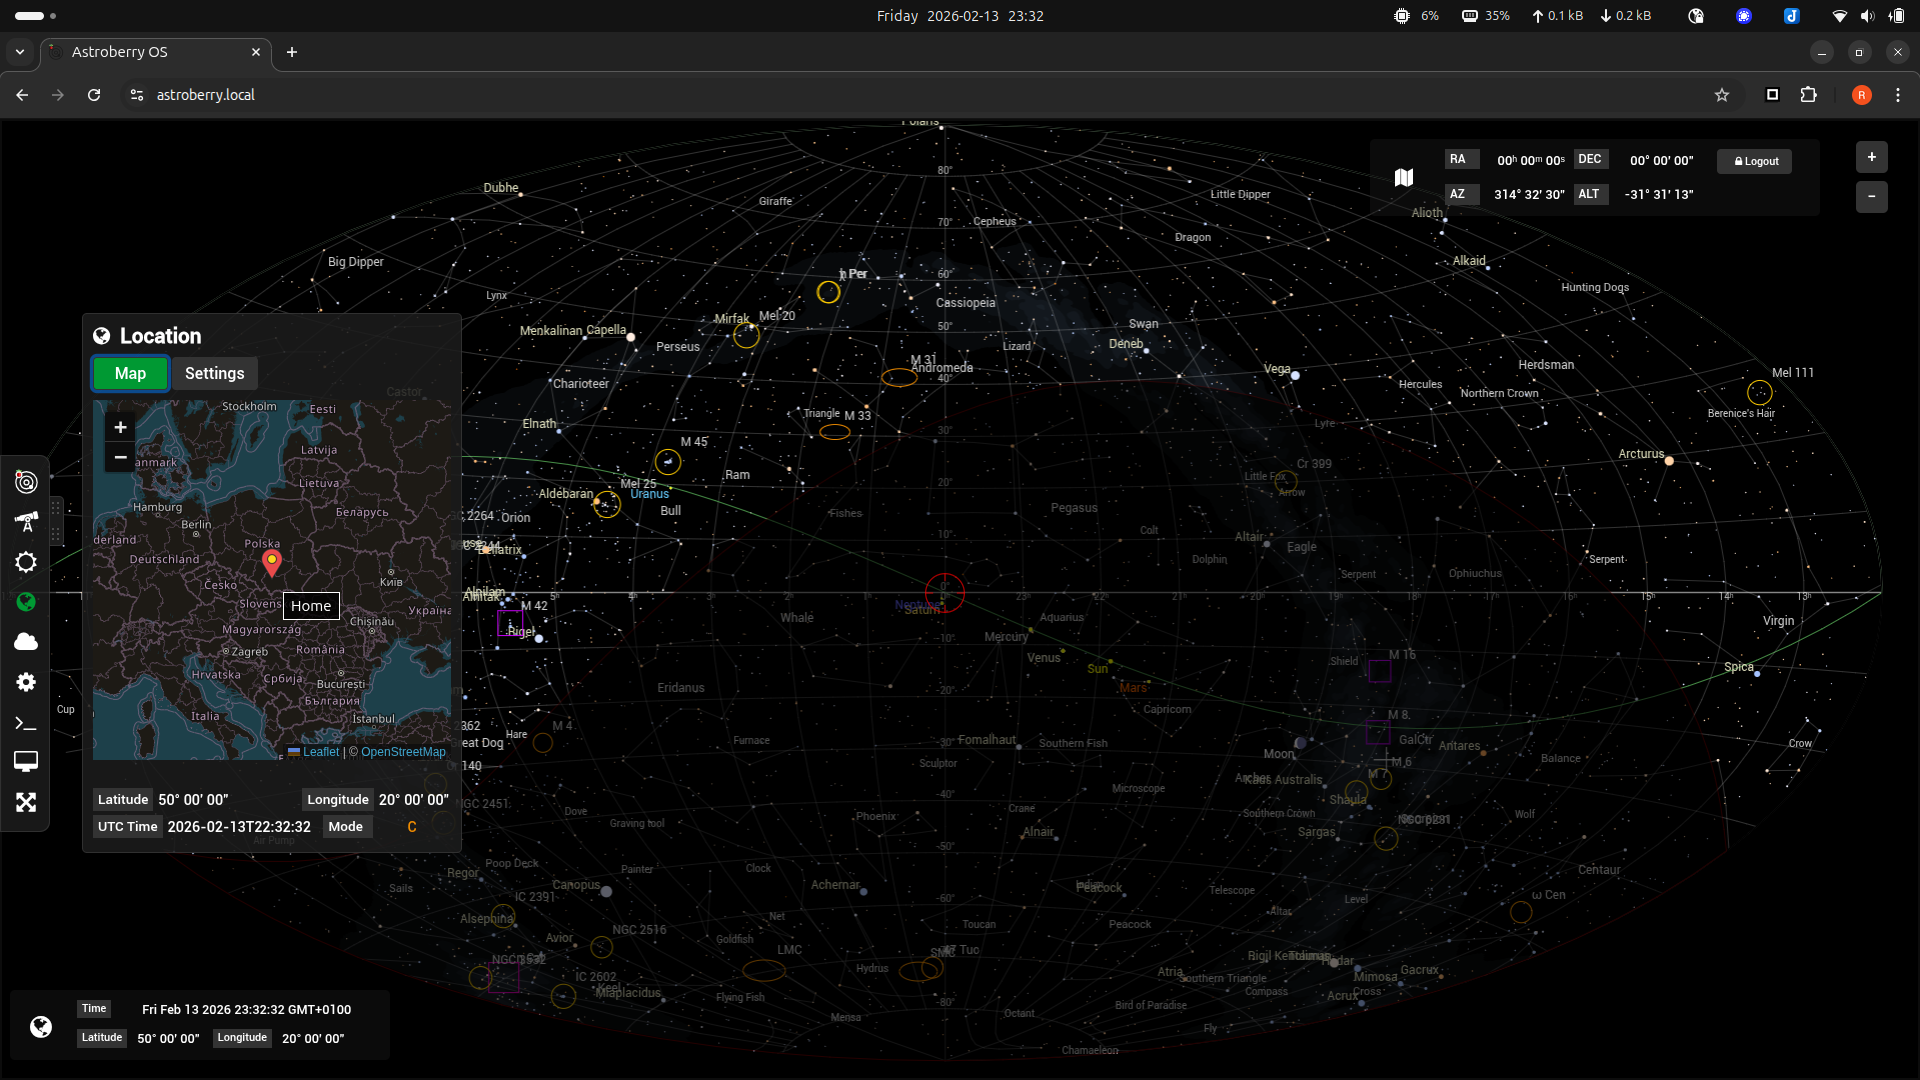
When you select custom location, you can either type in latitude and longitude in the settings or you can drag location icon on the map.
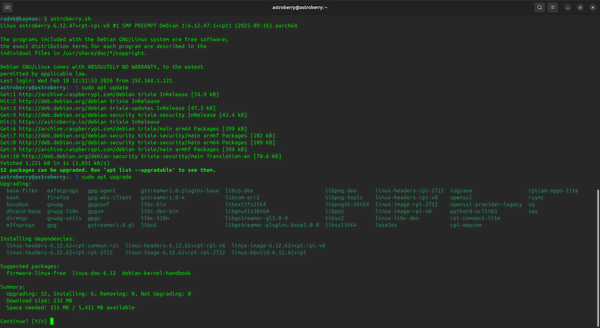
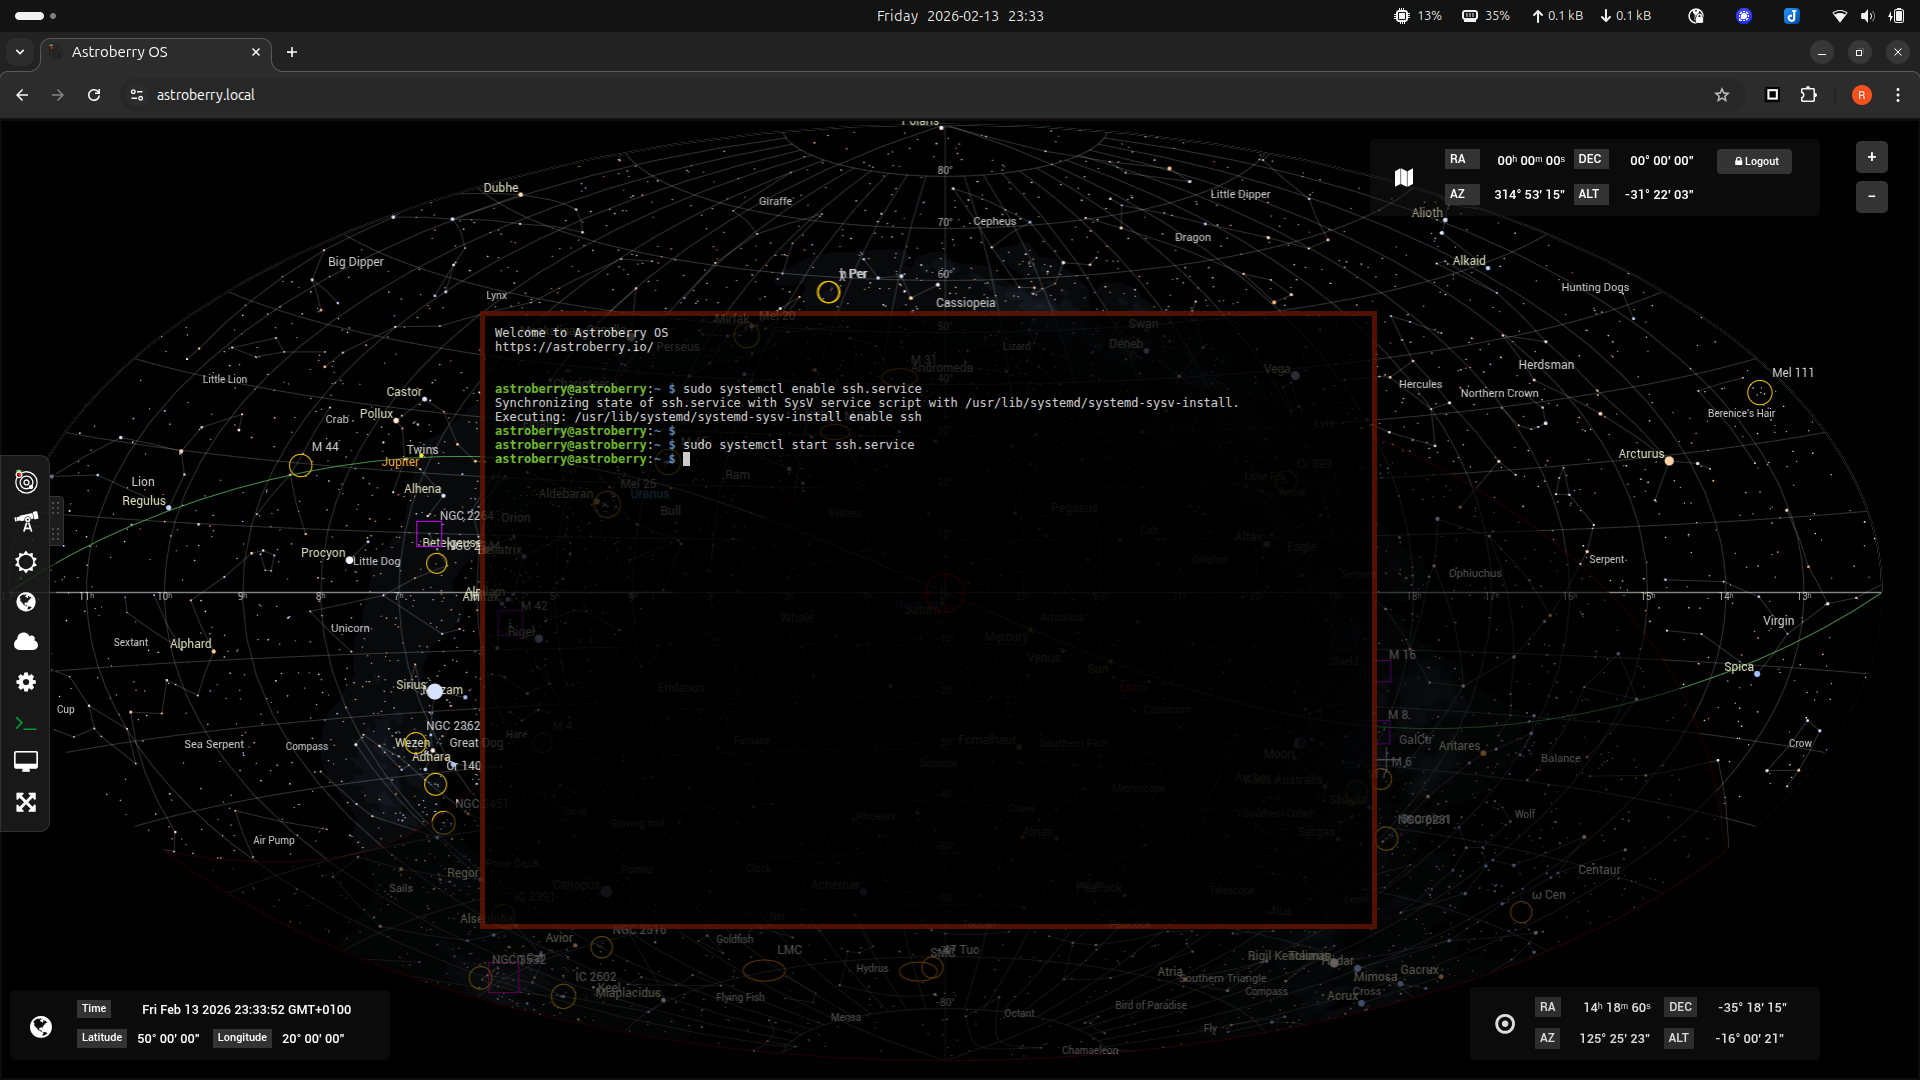
Web terminal
Astroberry OS provides a web terminal, so you can do all the system administration using a web browser. No need to open remote access to secure shell (SSH). However if you decide to do so, you can do it in web terminal or desktop.
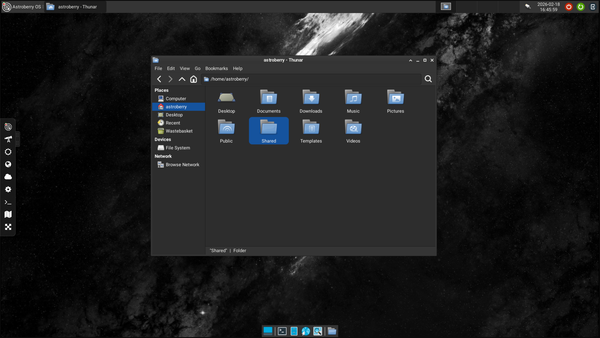
Desktop
While web interface (aka Astroberry Manager) provides lots of useful functionalities, it is not replacing full desktop experience. At least at this stage of the system development ;-)
After switching to desktop, star chart is replaced by full screen desktop running in the browser.
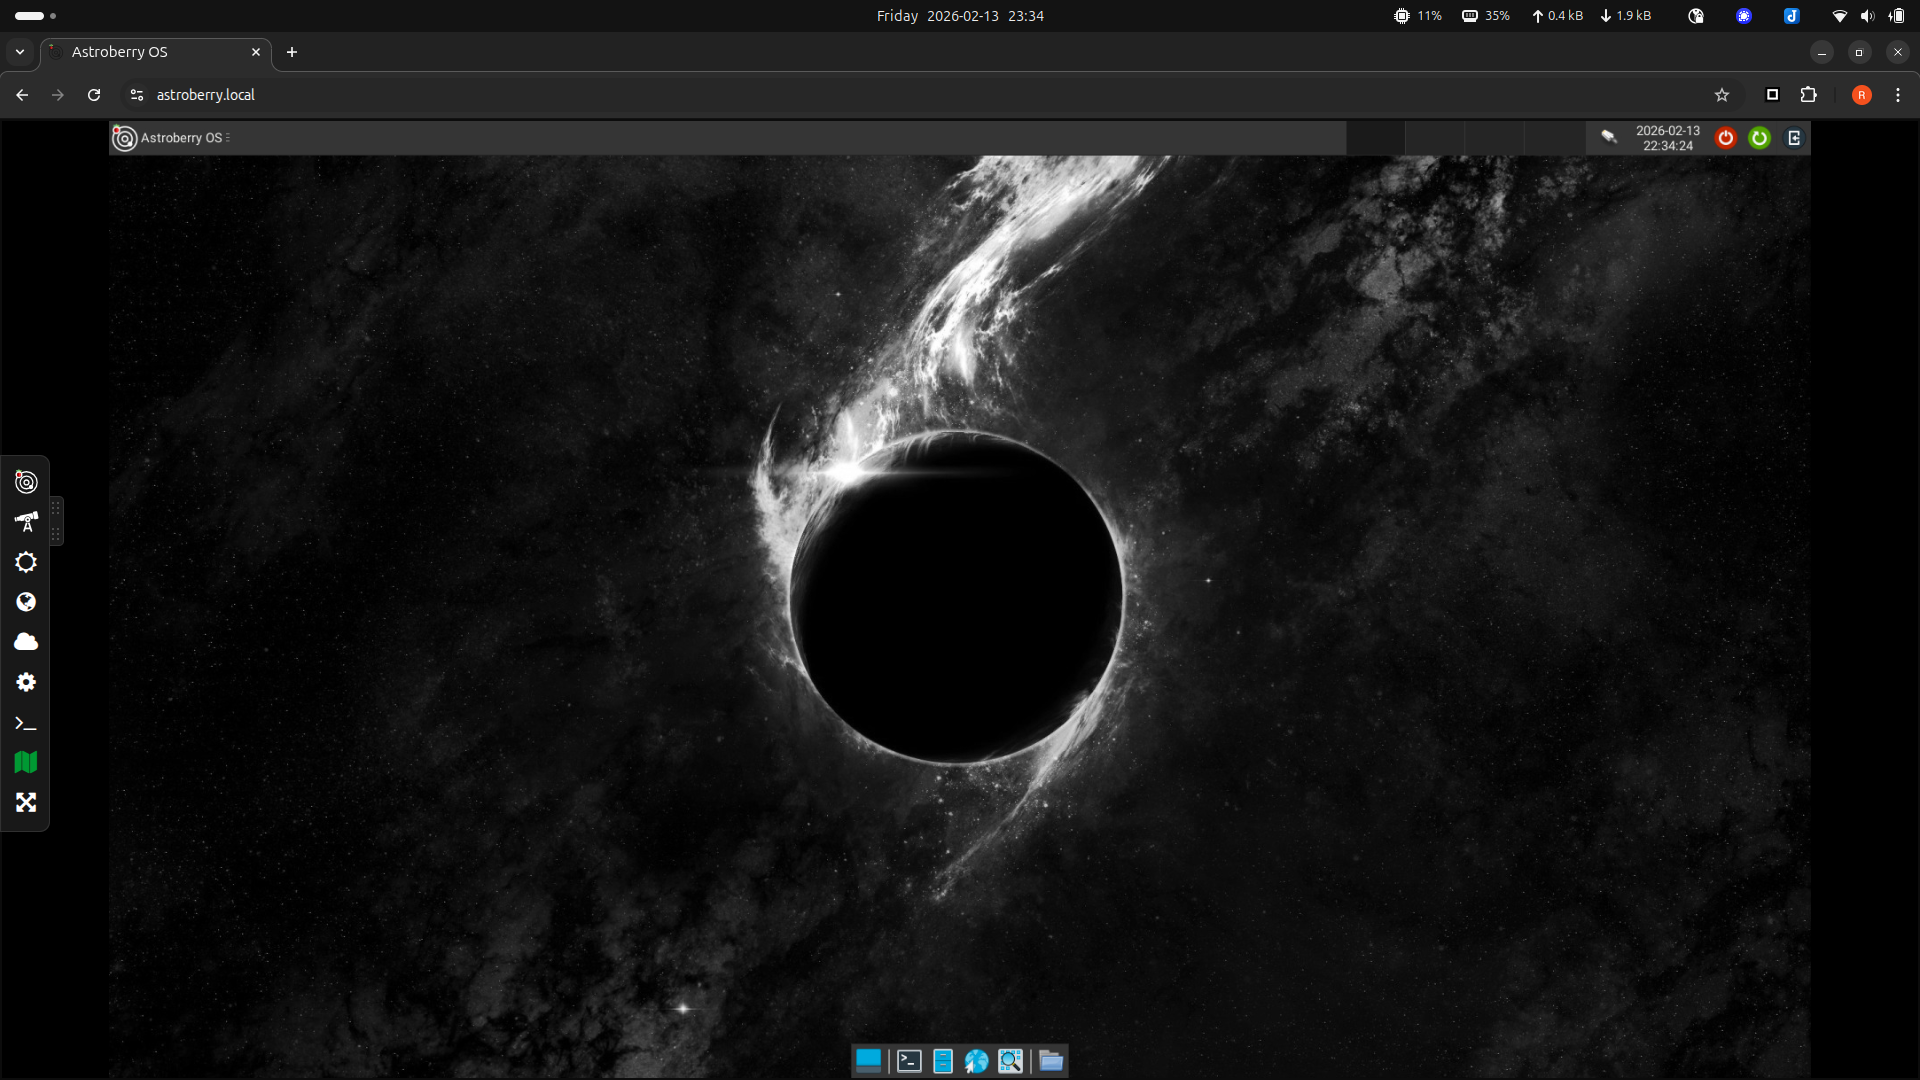
Astroberry OS 3.0 features beautiful XFCE desktop environment. It is lightweight and just perfect for Raspberry Pi.
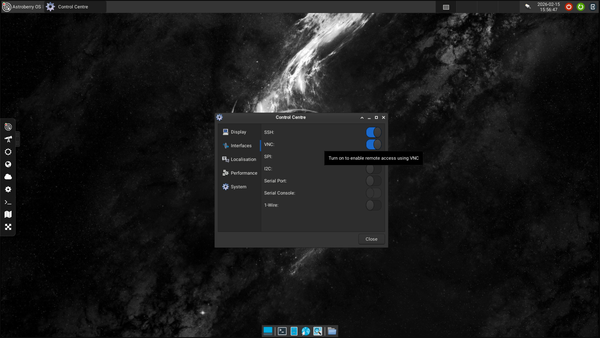
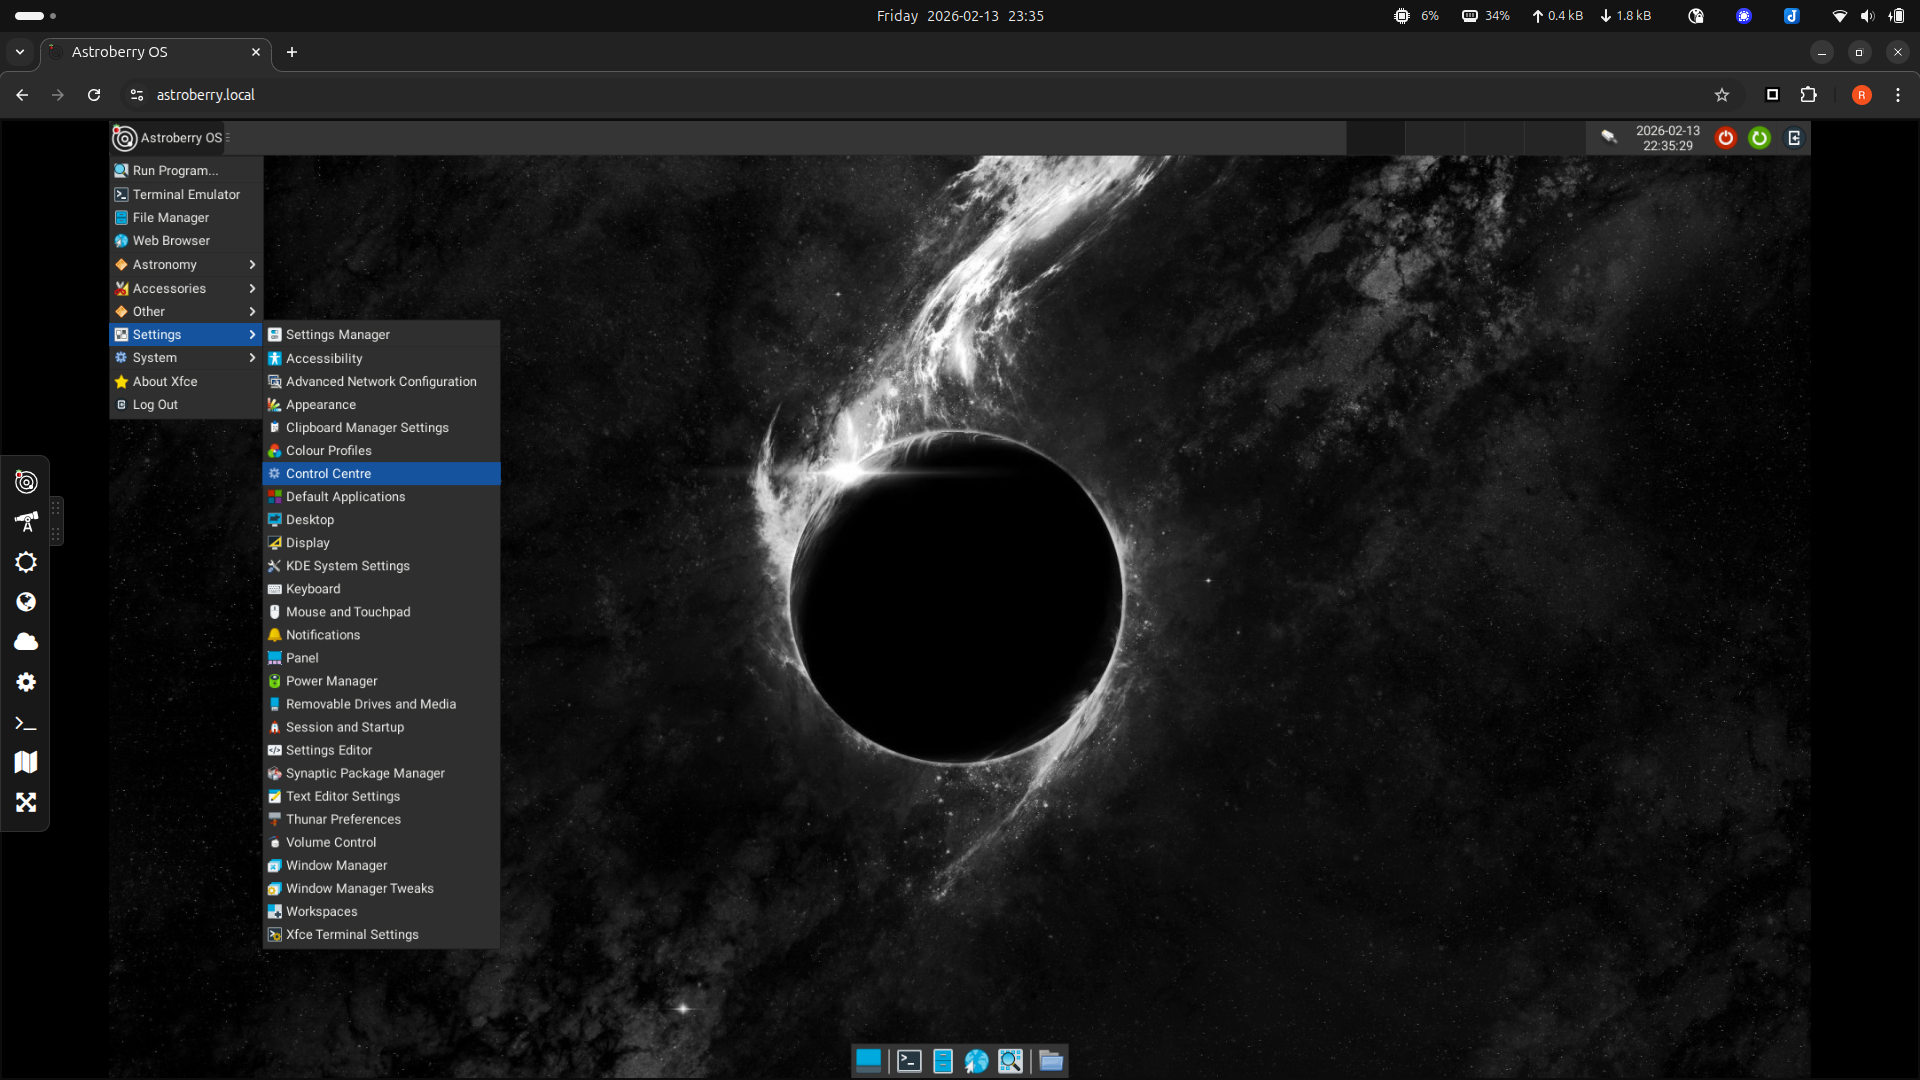
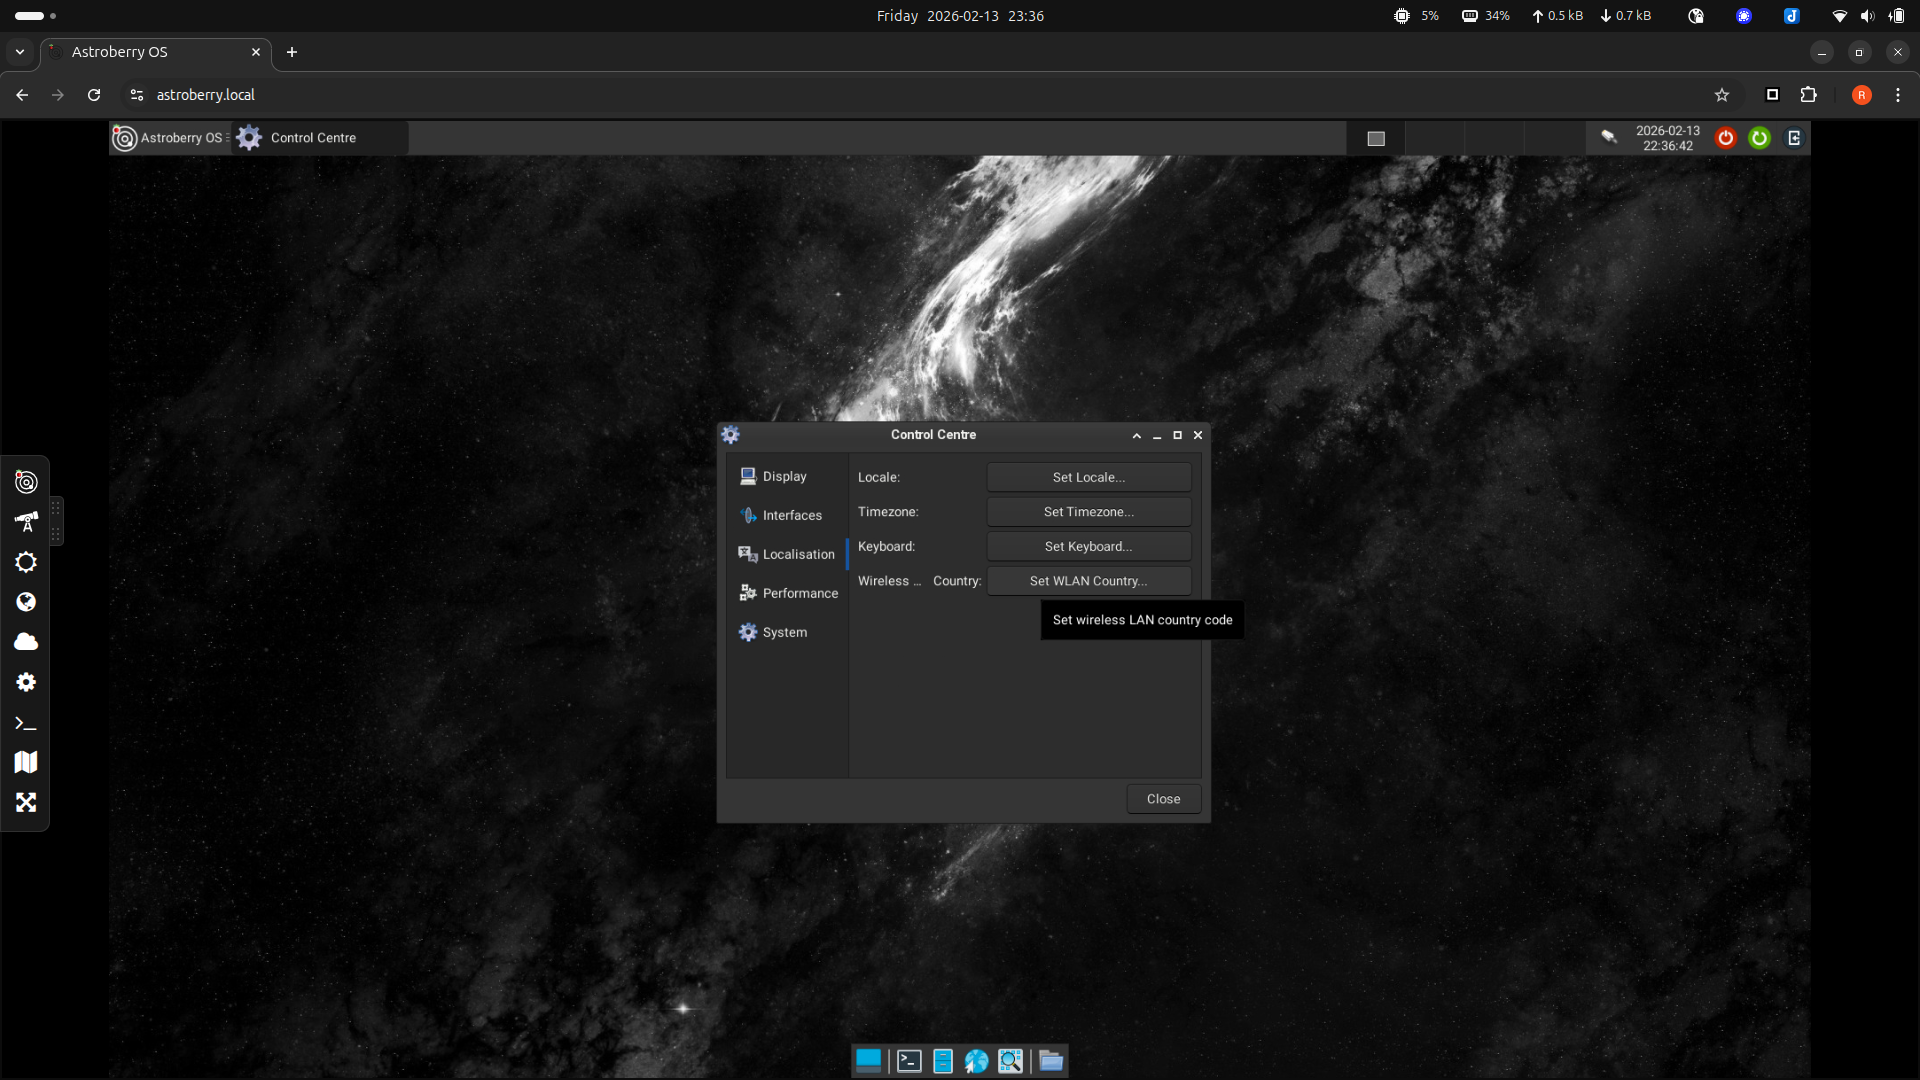
Control Centre
You should definitely start with reviewing system configuration using official Control Centre application.
Using Control Centre, you can configure crucial functions of your system. Including remote access with SSH, VNC and GPO interfaces such as I2C, SPI, Serial etc.
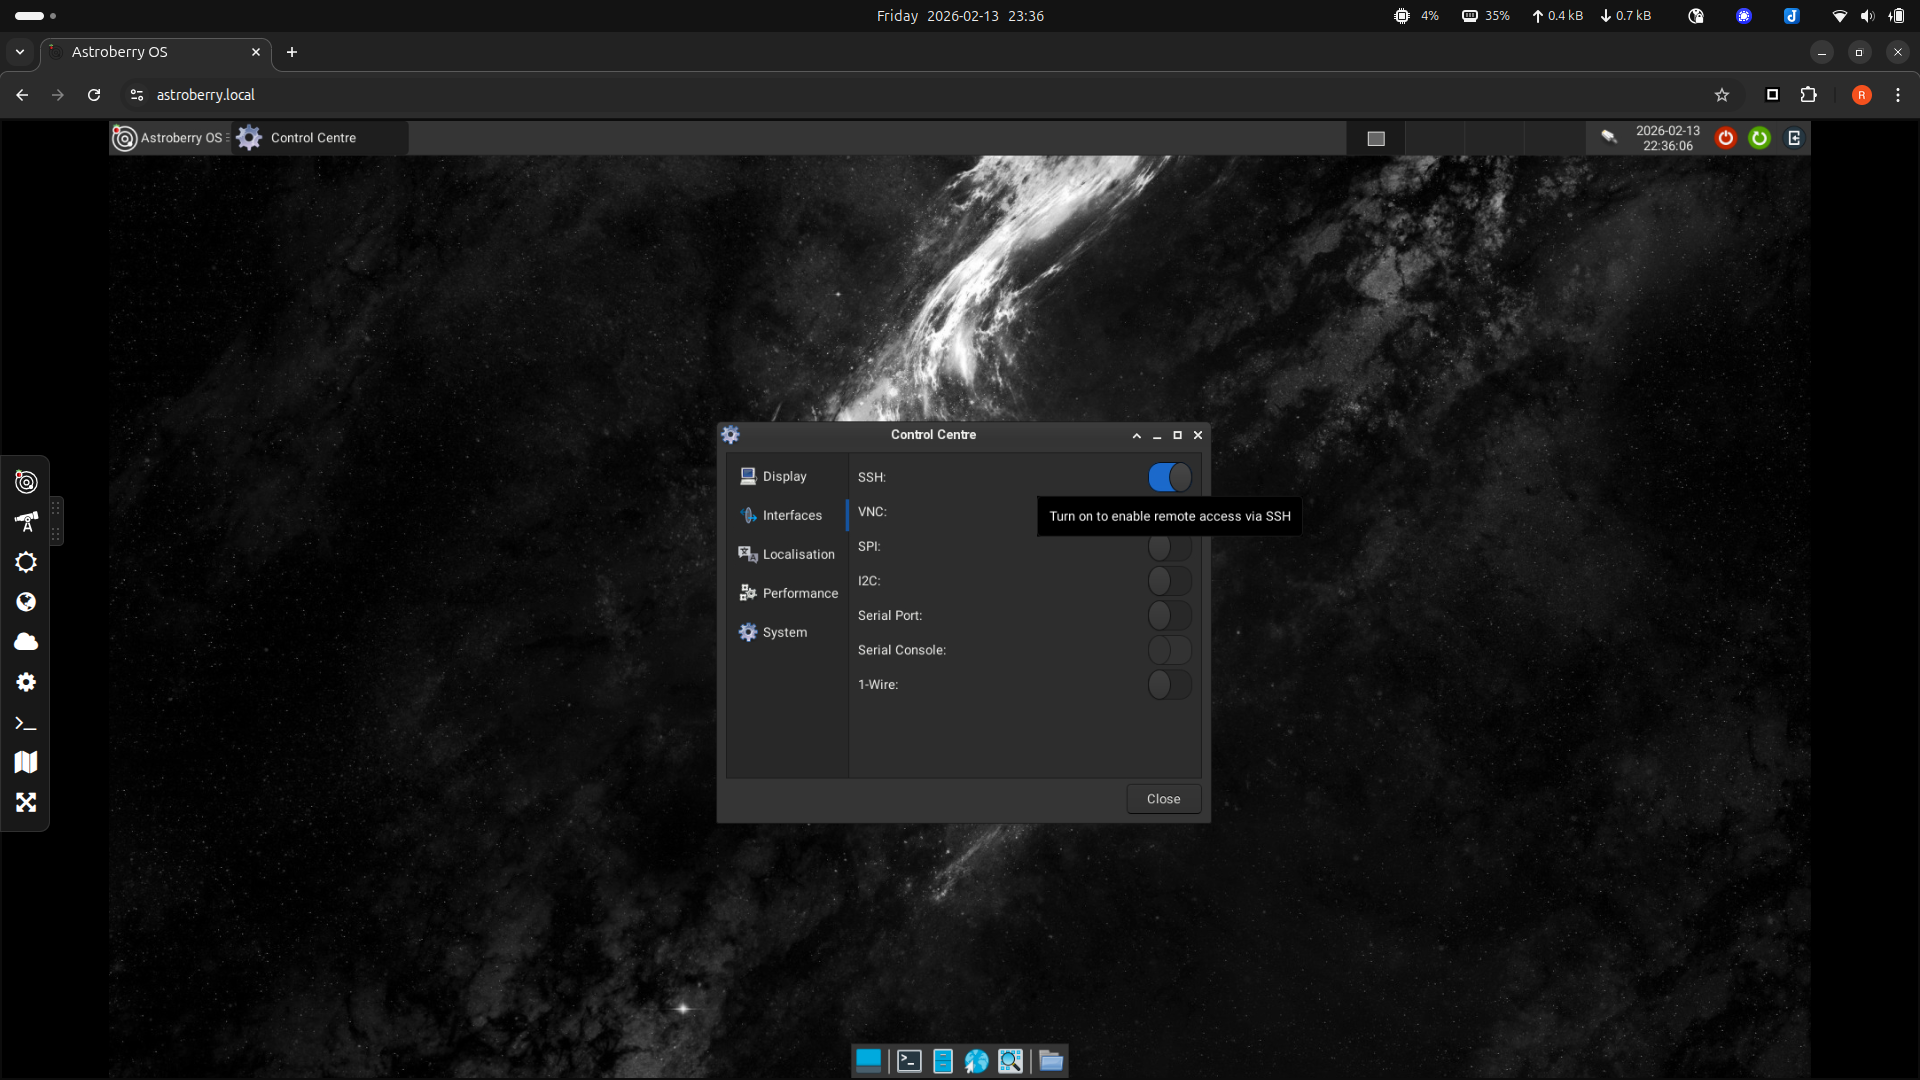
What is even more important, using Control Centre you can set system-wide regional settings such as Locale, Timezone, Keyboard and WLAN Country. Make sure to configure your device appropriately to avoid interfering other devices. If you don't plan to use wifi, disable it.
Network connection
It is recommended to connect Astroberry OS to a local network or home wifi. Hotspot connection limits certain functionalities, which require Internet connection. You can use wired network connection (requires no configuration) or wireless network connection. If the system is not connected to a wireless network, astroberry hotpot is shown as active.
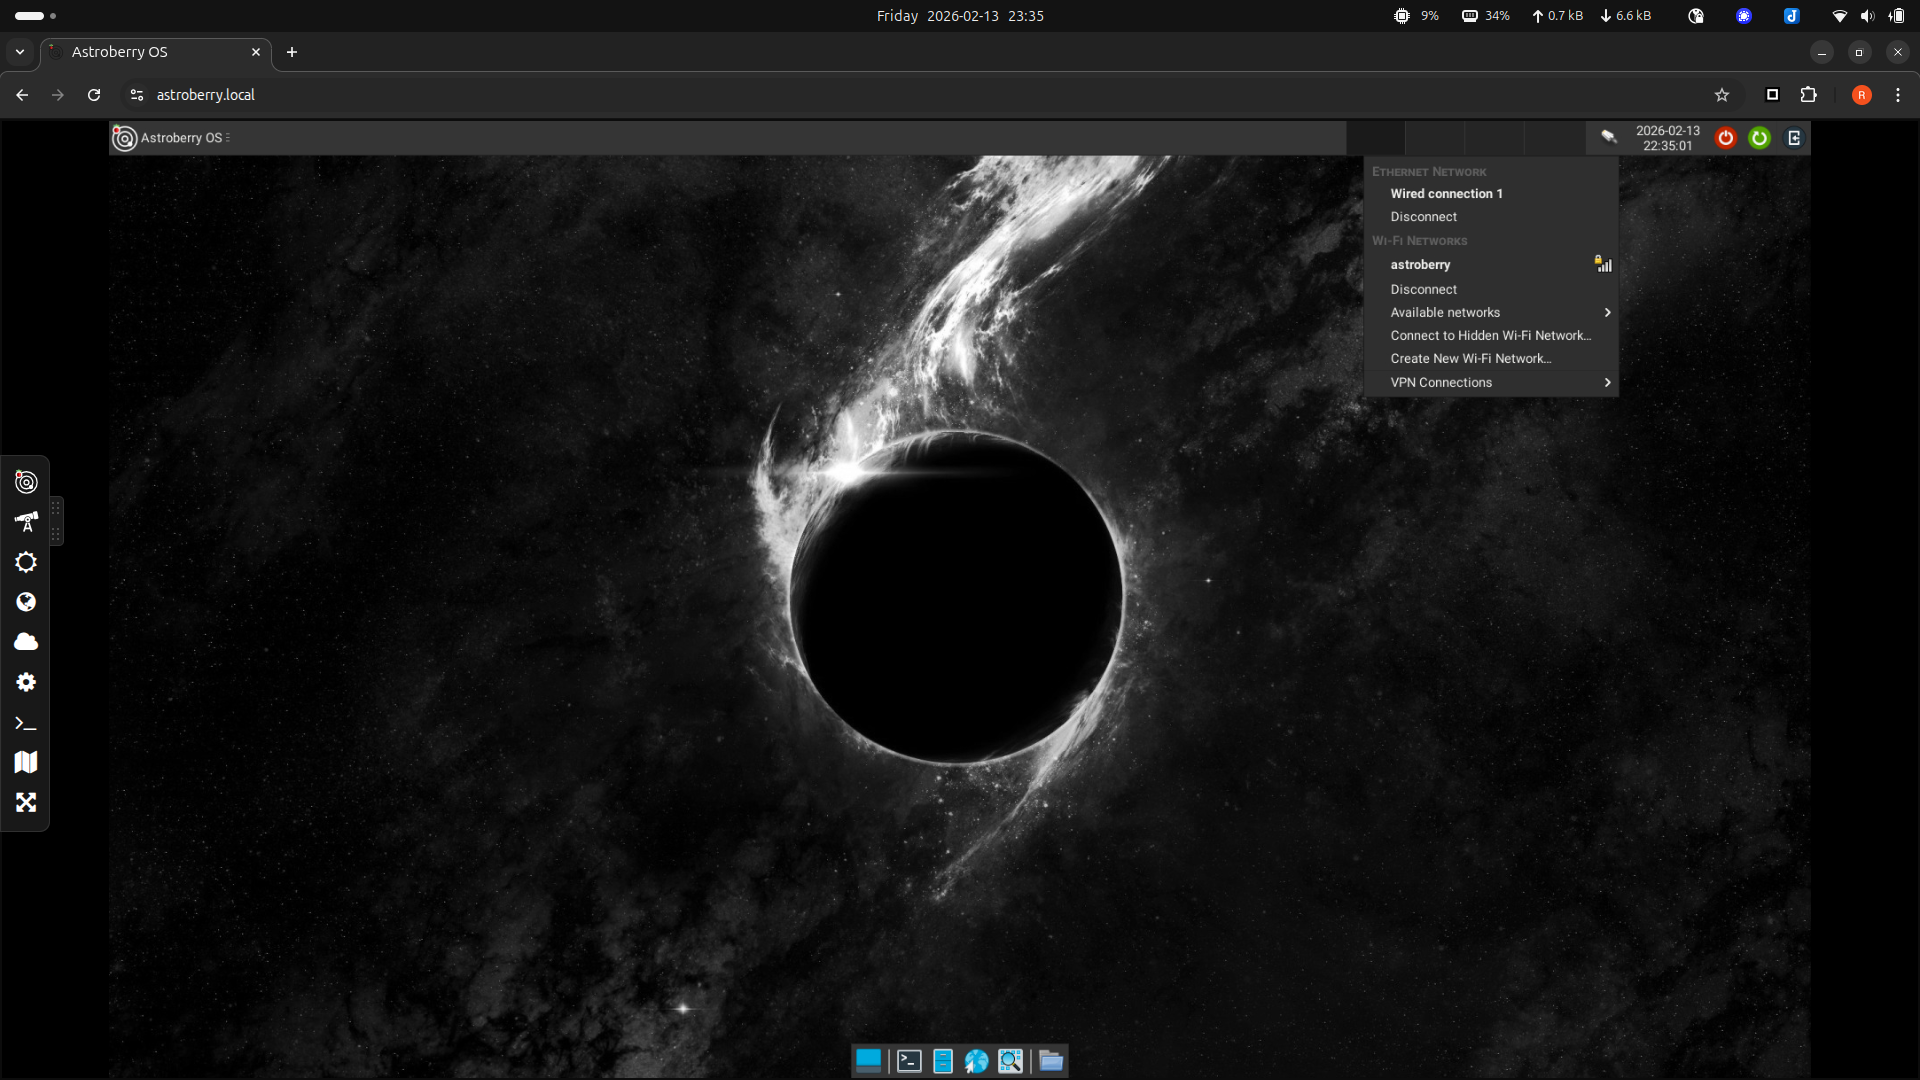
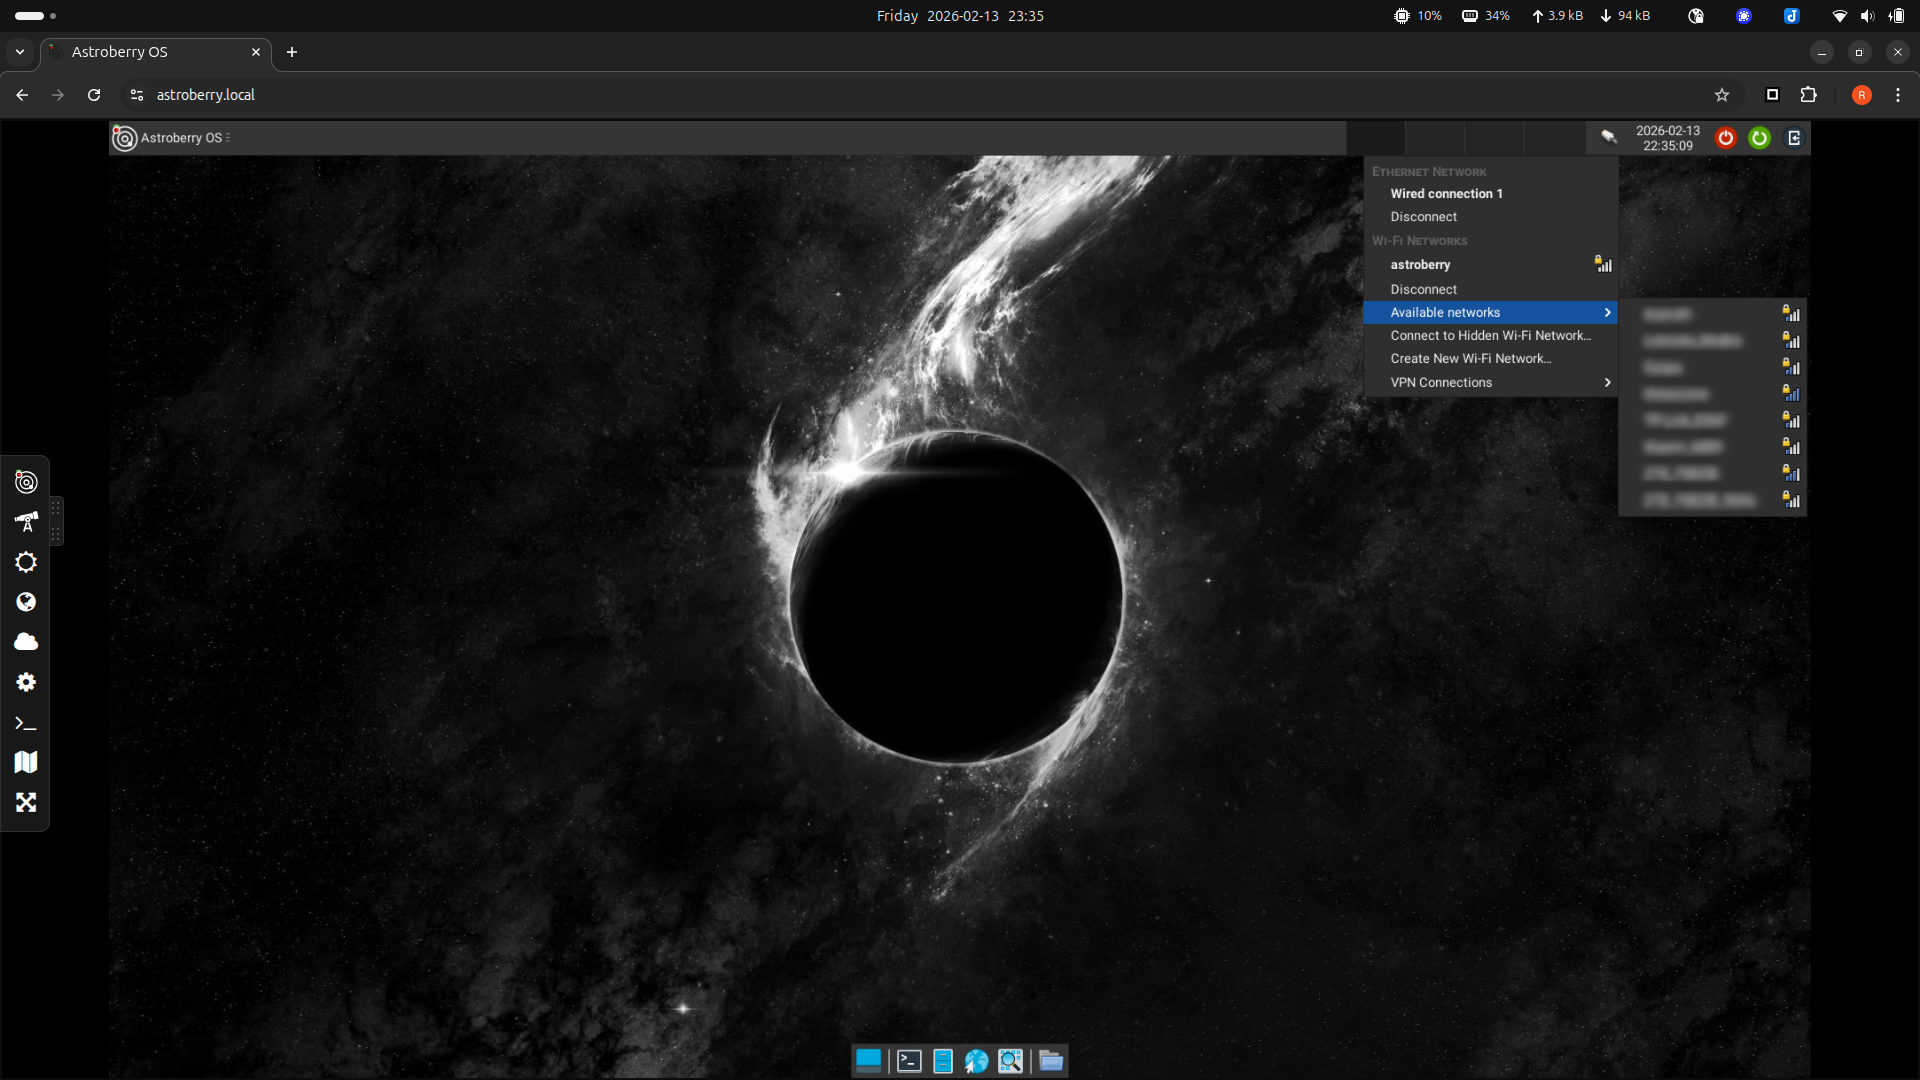
Use a network icon in the top right corner to connect to a wireless network of your choice. Select Available networks and click a network you want to connect to. You may need to restart to disable astroberry hotspot and activate the new connection.
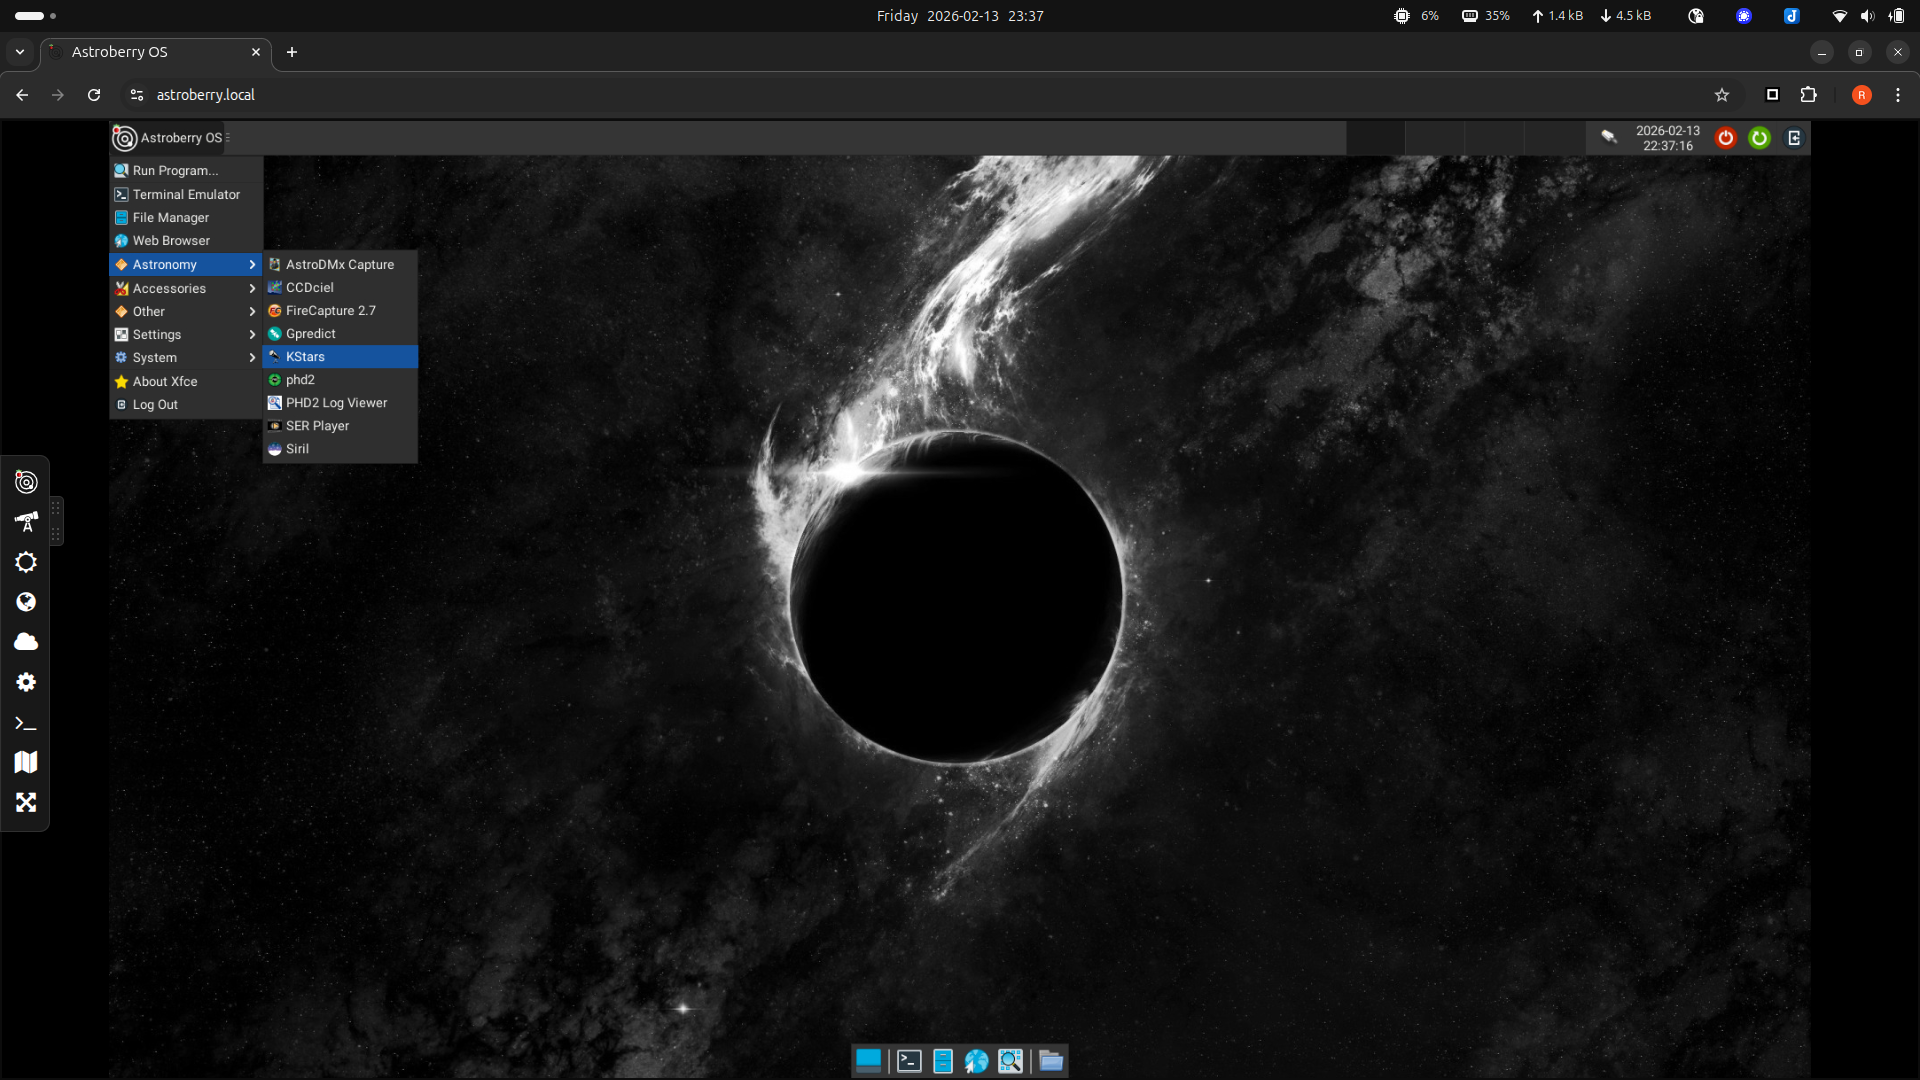
Astronomy
Now you are ready to start using Astroberry OS. The key applications are located in the system menu Astronomy. We will cover review of default applications in separate guides.
Conclusion
There are just a few steps after system installation, required to start using Astroberry OS.
- Login to the system
- Configure location
- Configure remote access (optional)
- Configure regional settings
- Connect to a network
Last but not least, change default passwords to (1) astroberry hotspot and (2) astroberry user account. Even if your system is connected to a trusted network, it is vulnerable to numerous threats... only because it it connected to a network. Don't put your equipment at risk. This might be mission critical configuration at astro parties and other open field events.